
Digital Sculpting 101: Tools
As makers, we share what we research, test, and use. If you decide to purchase anything we mention using our referral links, we may get a small commission at no cost to you. If you’d like to learn more, visit our affiliate policy.
To Start, This is not a sponsored post, the brands mentioned are based on my own and trusted peer experiences. Cool? Cool.
And now on with the show - Digital Sculpting 101: Tools
I have a background in Sculpture, Design, and Ceramics so I’ve done a lot of mold making & casting props for the film/tv industry, large-scale sculpting for theme parks/experiential exhibits, etc. Okay Great, all caught up. All this to say none of this was helpful for learning 3d sculpting programs. It was one of the most humbling experiences in my life - to start over.

I think one of the hardest barriers for entry is learning how to get used to being uncomfortable with having to start over - like a beginner. And that starts with learning about the tools.
The Tools aka Hardware: Screen Tablets & Graphic Tablets
There are 2 kinds of tablets you can use for digital sculpting/drawing. Screen tablets and graphic tablets. Some screen tablets can sometimes be used in both modes. The tablets I’ll be discussing are input devices that need to be plugged into a computer and not standalone devices (like an iPad with an apple pencil, saving that for another post)
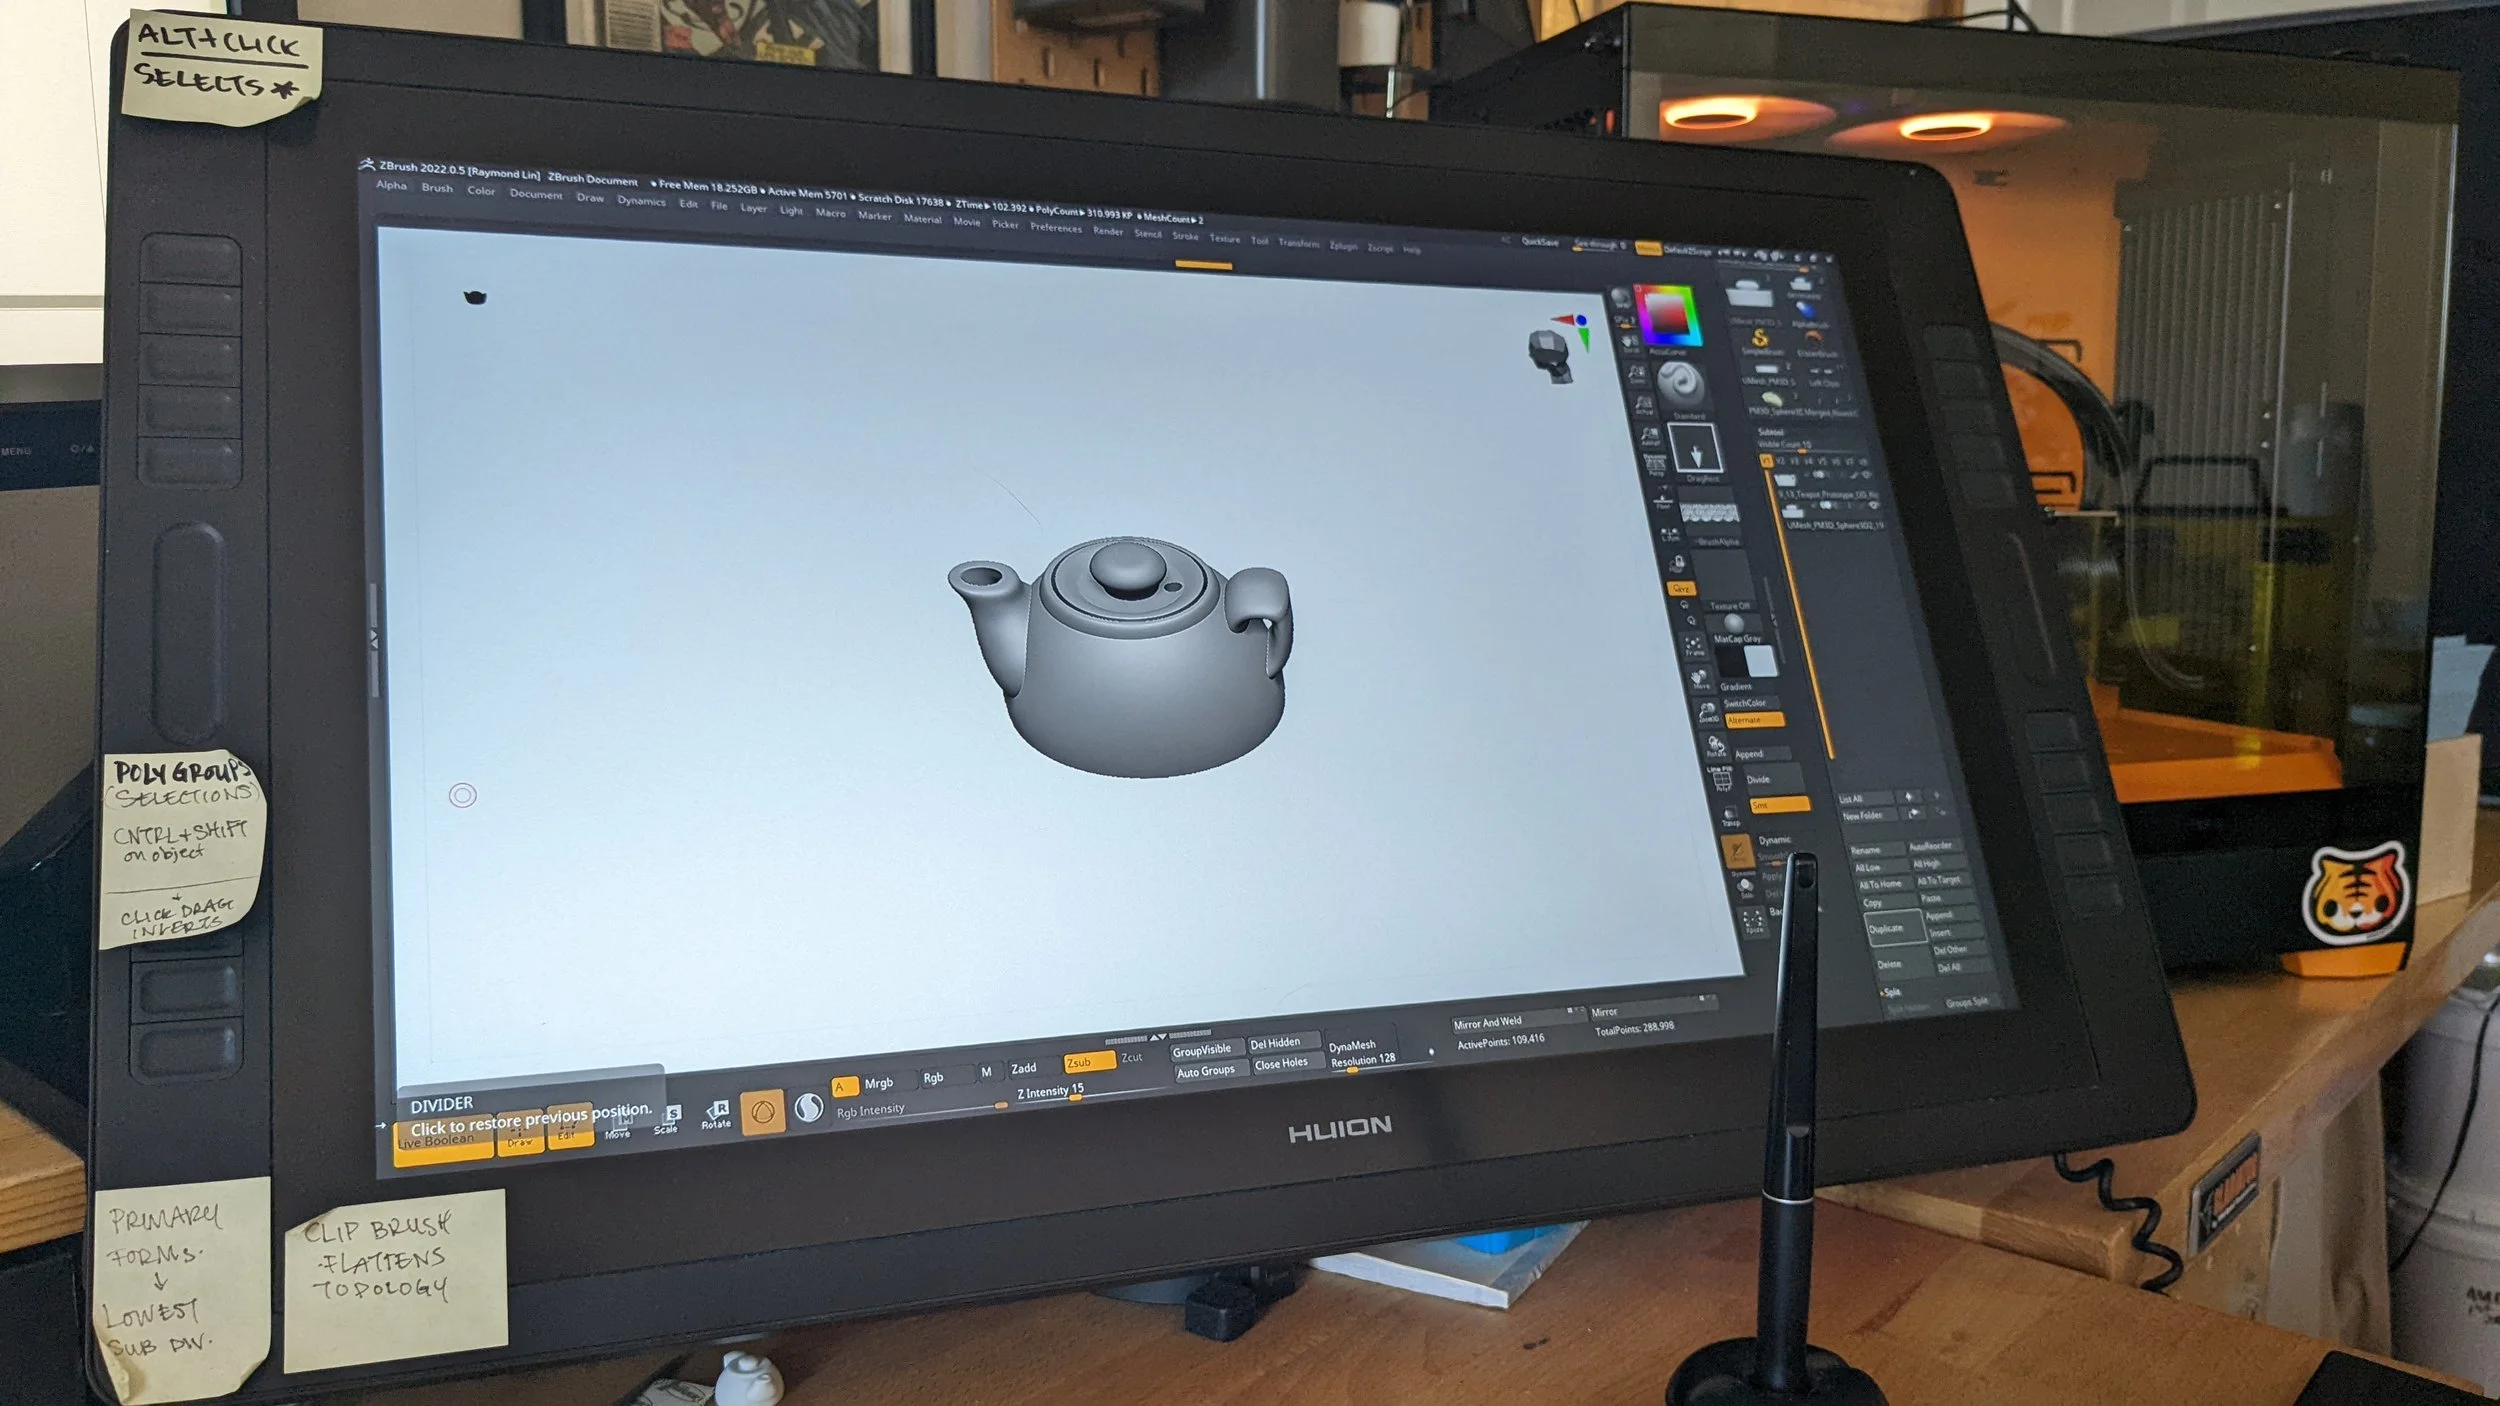
Loaded up my dim sum teapot to show you it’s my actual screen tablet - the Huion Kamvas Pro 24 2.5k (https://amzn.to/3T0OoPC) And Yes I use post-it notes to remind myself how to do certain operations in Zbrush. Don’t judge.
Screen tablets are the type where you can see what you’re doing and you draw using a pen stylus which I personally feel is way more natural and intuitive. You can even use nibs that make the experience feel more textured, like drawing with a marker if you are so inclined. It’s almost a 1:1 translation from traditional art to digital. They come in many different sizes, from a 12-inch display all the way to 24 currently. We don’t talk about the discontinued 32-inch from Wacom, which was way too big for anyone, probably. 🤷

Graphics tablets are the other kind where you also use a stylus and digitizer but you cannot see what you’re drawing on the surface of where you’re drawing it rather the image appears on your monitor. Drawing on this kind of tablet is super unnatural in my opinion. I would argue that some people that draw traditionally might have a harder time transitioning because of this disconnect. As you can guess, I come from a traditional art background where I would draw with pencil on paper/paint on canvas, that sort of thing. If you don’t have this hang-up, you might be able to navigate this way better than I did. It took so much for me to untrain from what I was used to and relearn new stuff. (Photo credit: Wacom)
But don’t let my opinion deter you. I have a friend who works as a creature designer for AAA games that does everything on a graphics tablet - the Wacom PTH660 https://amzn.to/3fmKVsU Check out one of Andy’s speed sculpts for a character below created using that exact tablet and while you’re at it, if you like his work, feel free to give him a like and a follow, it’s good karma!
Tips for a beginner
If you’re a beginner with a tight budget and want to see if this is even something you want to try - you could start off with a graphics tablet, but I recommend if you want a more natural drawing experience, screen tablets are getting much more affordable with every new iteration and more importantly give you the ability to see and create art, without having to retrain your hand-eye coordination. I recommend picking up a small screen tablet such as the HUION KAMVAS 12 (as of 9/2022) is below $200 USD (https://amzn.to/3SB1P5j) and see for yourself.
My Journey with tablets

When I first started learning digital art, I was using a Wacom Intuos PTZ-631w. It was donated to me when a friend’s office was upgrading - much like how an inner city school gets “new computers”. This thing had a large footprint a whopping 18.78 x 12.2'8’’. Look at it! That’s an adult-sized hand on that tablet. It’s the same size as a Huion 16 screen tablet. (Photo credit: Wacom)

I later upgraded to a Wacom Intuos Pro Small PTH451 (https://amzn.to/3BRVpIn) that gave me much more desk space back, but ultimately the disconnect between hand eye coordination was still very hard to get used to. I learned how to do it eventually but my instincts were fighting me the whole time. I much prefer screen tablets because of no real learning curve and that to me alone is worth the price.

Quality of life upgrade
This is why I jumped on the Huion Kamvas Pro 16 (https://amzn.to/3f0TtW7) It’s a very good mid-range offering from Huion, and I liked the functionality. I think if we are talking about bang for the buck for working with a desktop computer, the Huion is a fantastic value.
The only issue for me when using a smaller form factor screen tablet is that I found that looking down at it for extended periods on the table would cause some neck strain. That and I wanted a larger screen size so I ended up upgrading to the Kamvas Pro 24’’ for my office studio. I currently use this one for my daily sculpting and designing work. I also own the Wacom 13 mobile studio. It’s a standalone computer (similar to an Ipad) so it doesn’t need to be plugged into a computer so it’s not exactly a direct 1:1 comparison to screen tablet input devices. I mainly use when only when I travel, because it’s small.
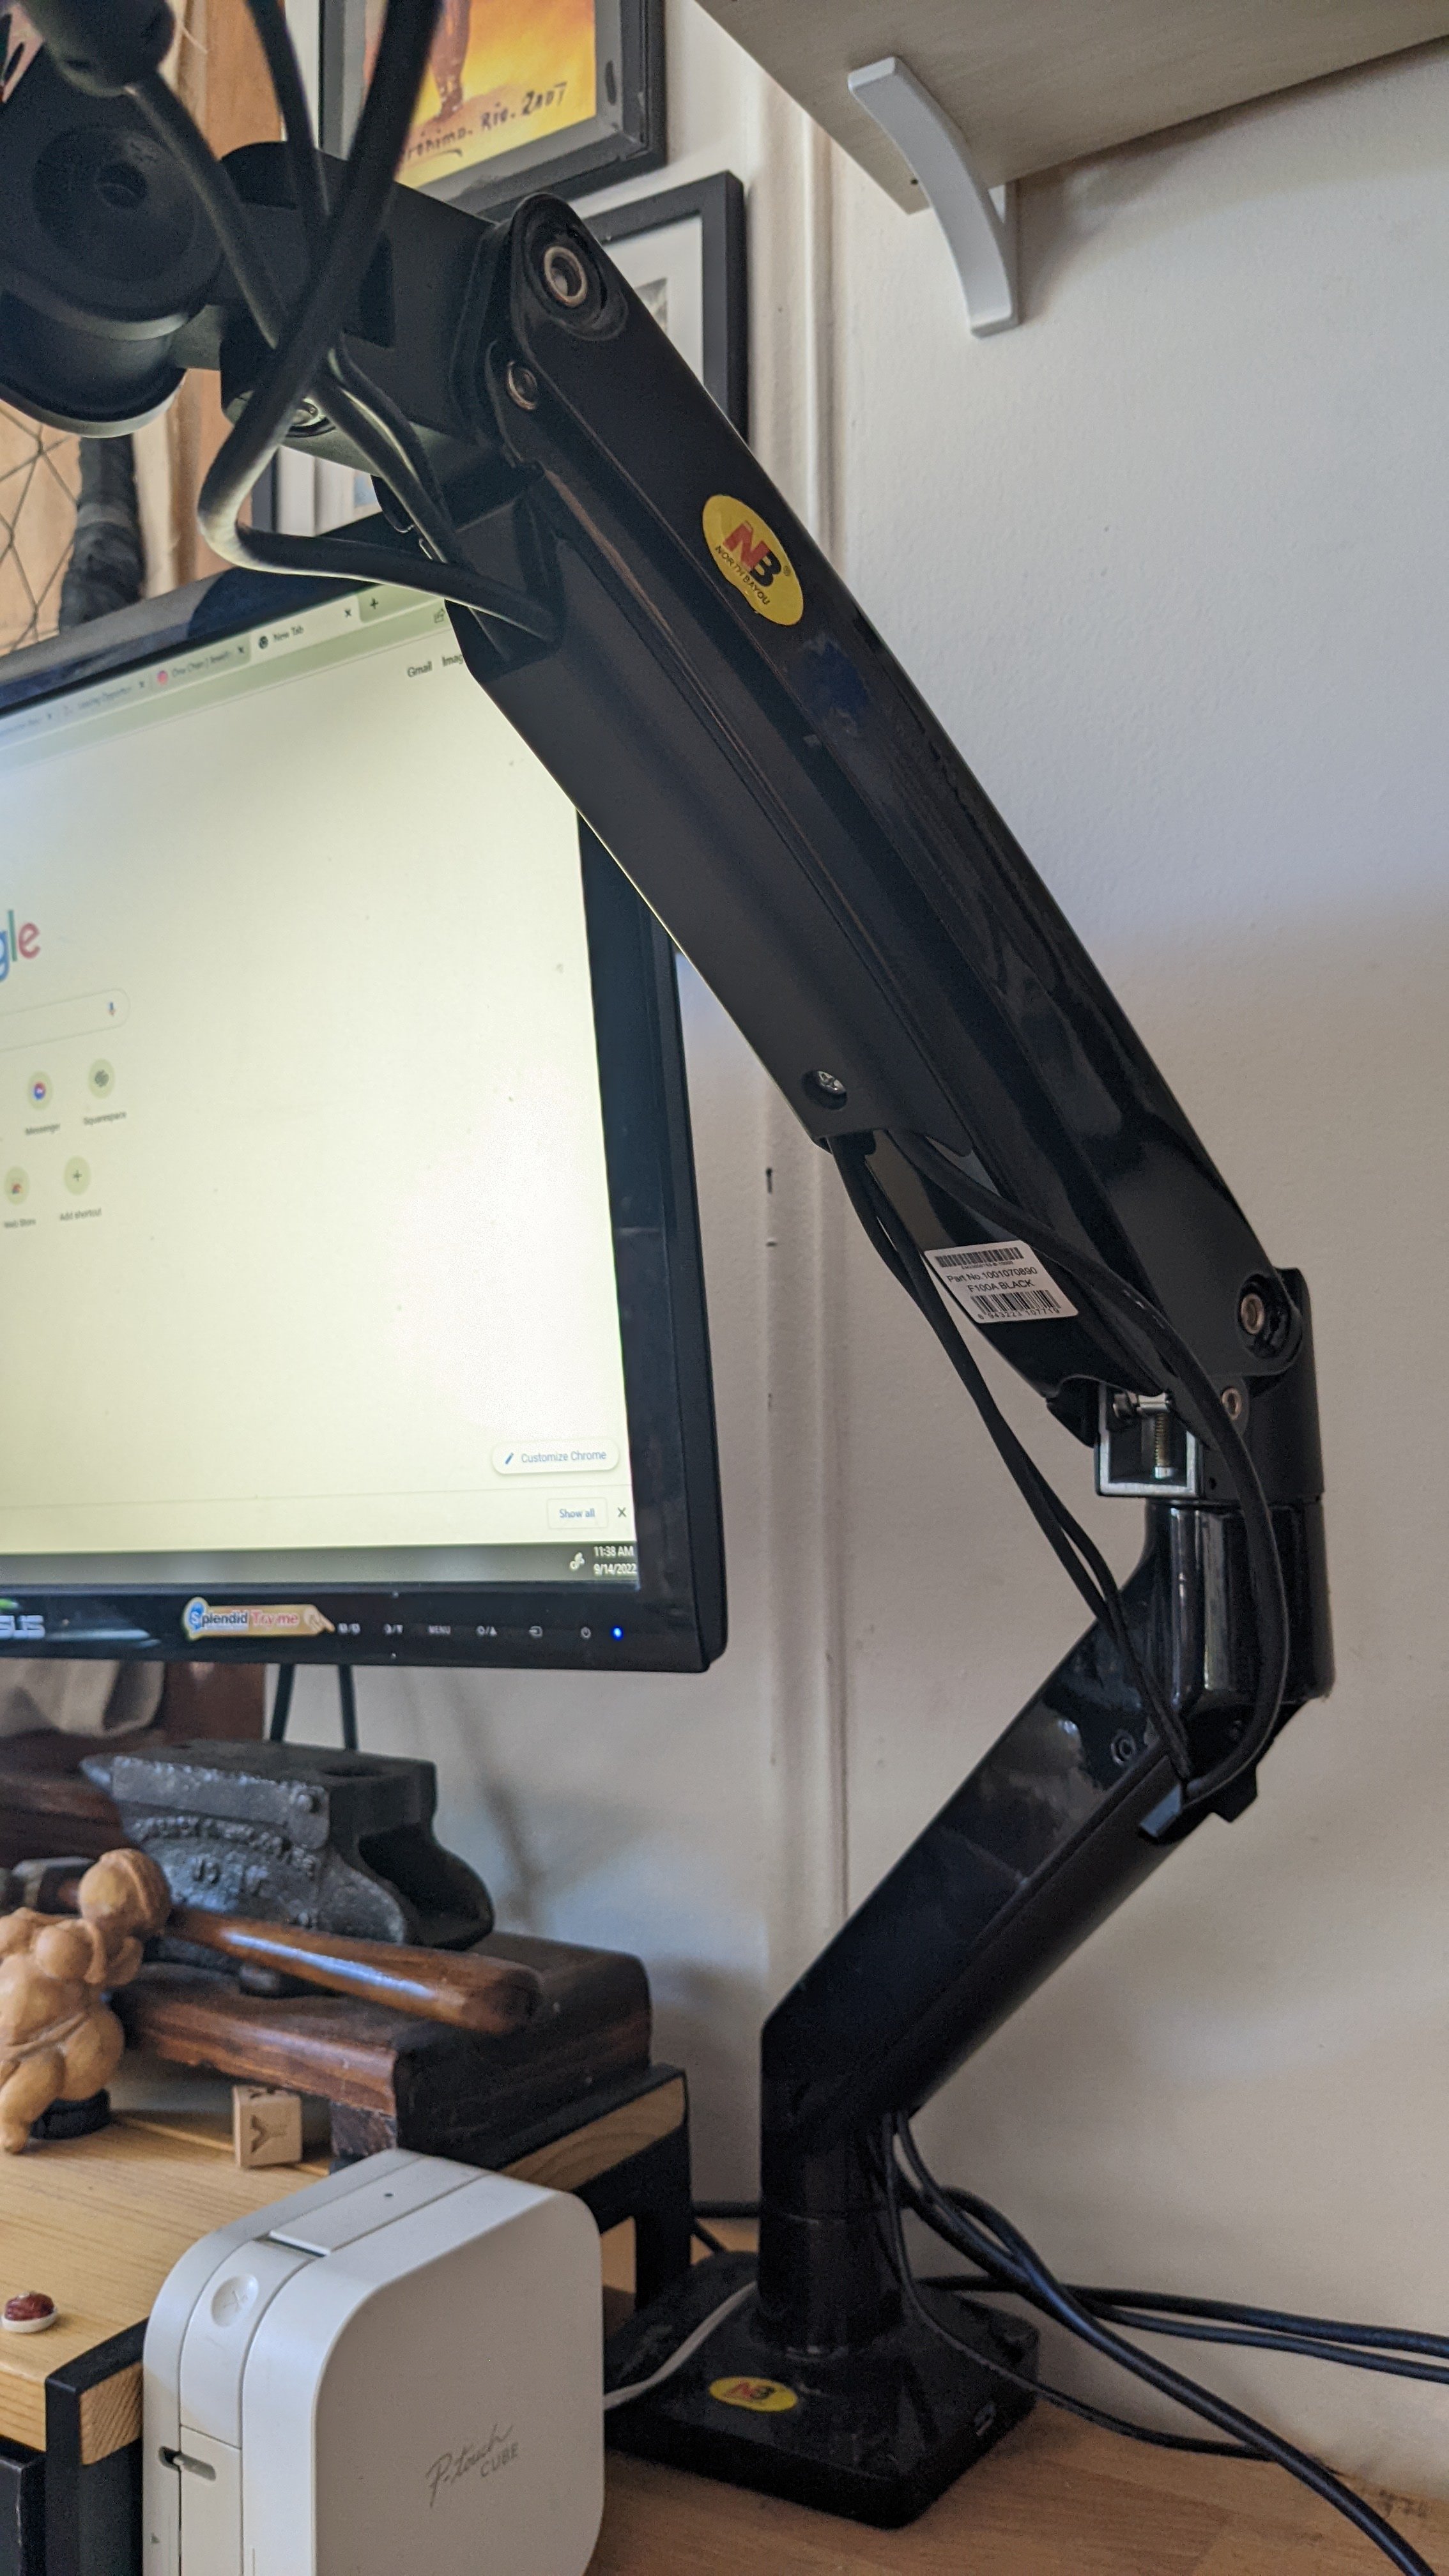
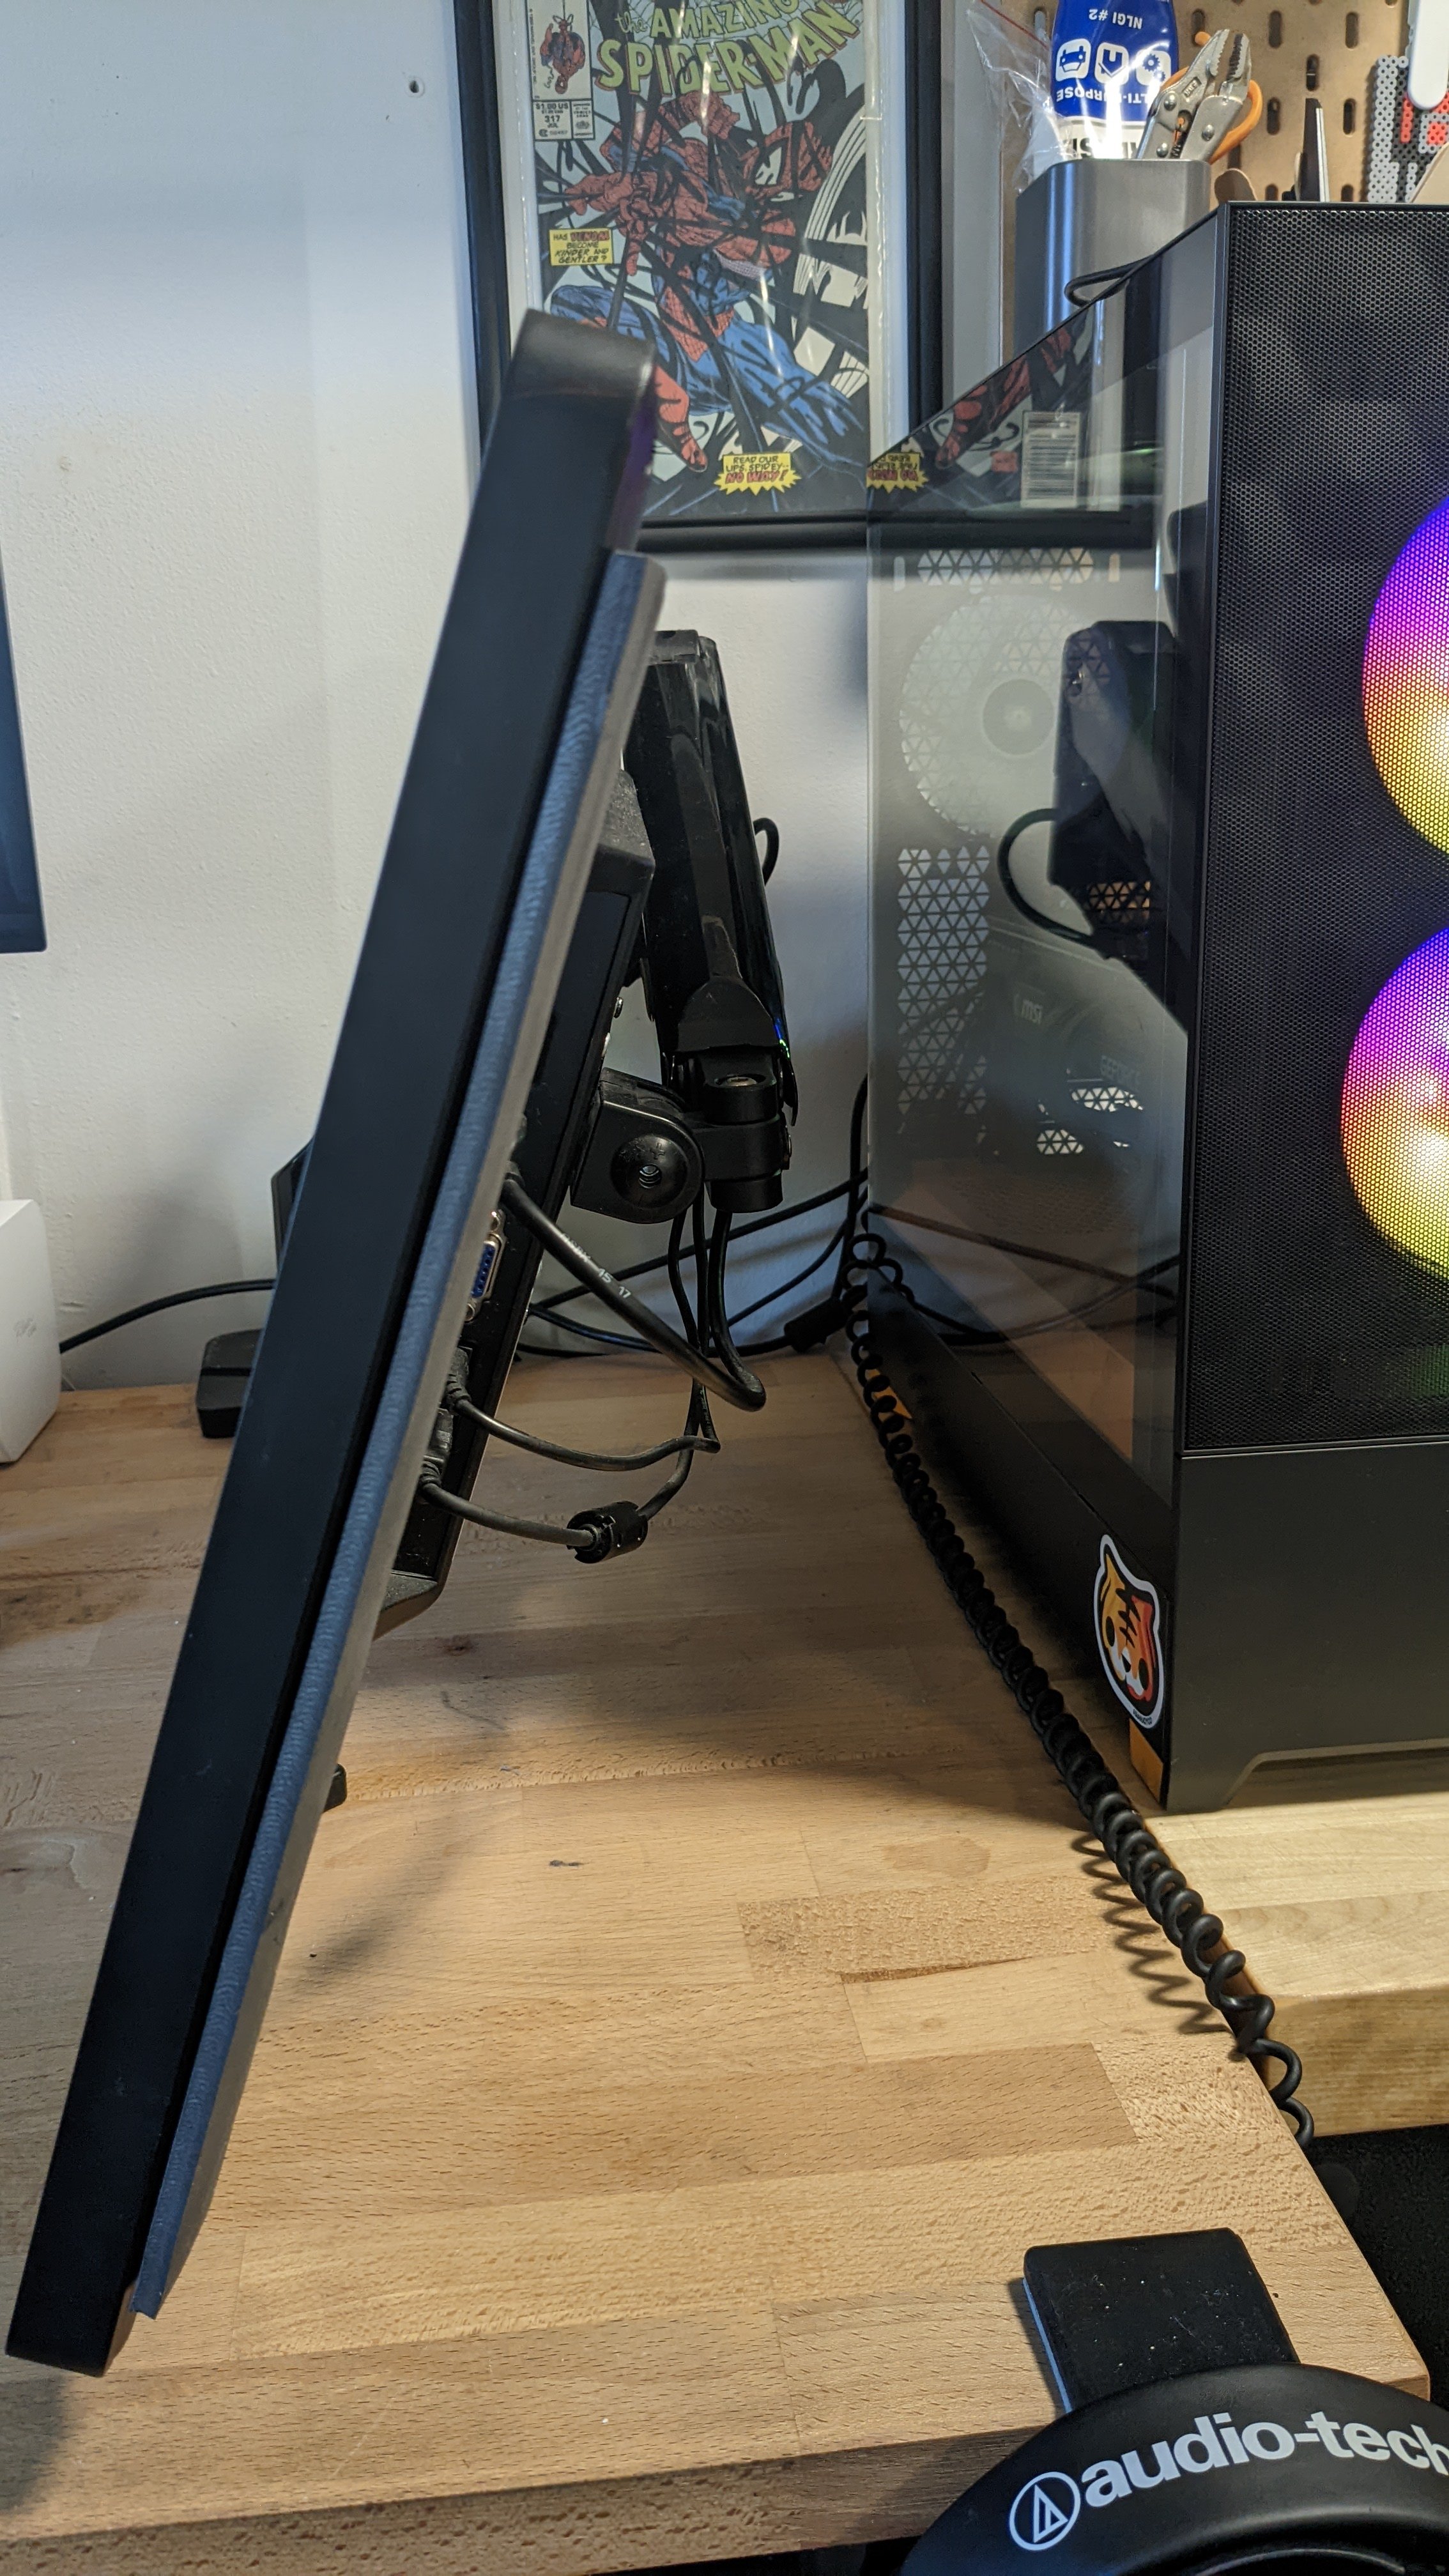
Screen tablet Upgrades If you’re using a smaller screen tablet, such as the Huion 16, I suggest grabbing this Universal VESA Mount Adapter (https://amzn.to/3DN2YCH) and attaching it to a monitor arm that way you can move it around and get all the benefits! (as seen below)
Monitor Arm Upgrade
This might be the single best quality of life purchases I’ve made in terms of upgrades for digital sculpting for two main reasons.
1. Viewing angles
I don’t have to stare down at a monitor stand and end up with neck pain after working for extended periods
2. Space Saving
I can move my whole monitor out of the way so it doesn’t take up as much desk space as when I had it on a monitor stand. Giving you more room to be creative!
My current one is the NB F100A,(https://amzn.to/3zKAaYr now in stock!) If you need one that supports a heavier monitor also check out the NB Heavy Duty Monitor arm (https://amzn.to/3hcp4VS)This is a very affordable alternative to the Ergotron monitor arms that can run $350 (as of 9/2022) Similar functionality at a fraction of the price, that’s a no-brainer for me.
TLDR: Screen Tablets
Pros
You can see what you’re drawing/sculpting directly on the monitor.
Getting more affordable with each new release. So if you’re looking to try one, get a previous generation. Especially considering beginners don’t need all the newest best things when learning their craft.
Can install screen protectors for a paper-like feel if you like textured drawing surfaces
ConsLooking down for extended periods of time may cause neck discomfort.
Parallax i.e. the distance between the pen tip and the digitizer. Some people find it distracting.
Can be expensive if you want a Wacom.
Color calibration might be an issue for some if screen-accurate colors are a big concern.
Graphic Tablets
Pros
Can be very affordable even on a tight budget
The small form factor takes up very little desk space.
No lag between pen stroke and action
Cons
Hand-eye coordination can be big a learning curve for some. That’s pretty much it if everything is working fine, but for me, it was a big con!
Some people report driver issues with certain models. Make sure your windows ink is enabled to troubleshoot.
Next We’ll move on to the 2nd part of this 101.